

Guide · CCTV image quality · 11 min read
Why CCTV images look blurry, dark or washed out
Use recorded footage and the timing of the fault to narrow the cause before changing settings or booking a site visit.
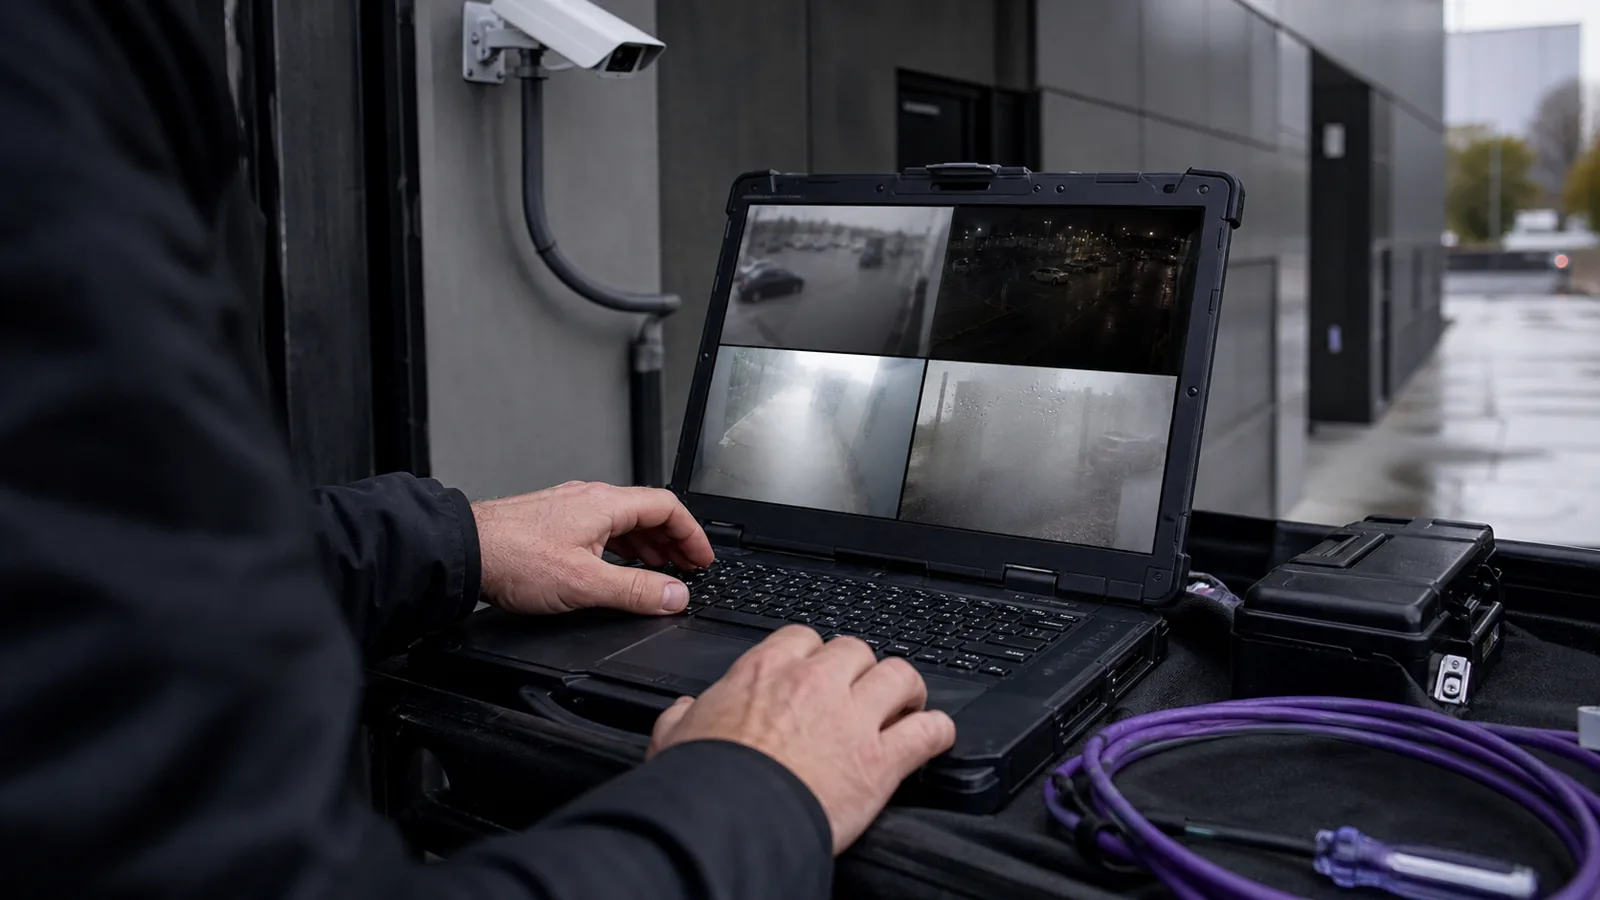
What an online status does not tell you
A CCTV camera can remain online and continue recording while its image has become too blurred, dark or overexposed to serve the purpose for which it was installed. The connection and recording indicators are still useful because they confirm that parts of the system are working. They do not assess whether the scene is visible in enough detail.
Image quality often deteriorates gradually. Focus can shift, contamination can build up on a dome, seasonal light can enter the scene at a different angle, or infrared light can begin reflecting from a nearby surface. The camera may continue sending video throughout, so the VMS has no connection failure to report. This is why the CCTV maintenance and inspection guide treats image quality as a separate check from reachability and recording.
It helps to separate four parts of the work. First, confirm that the image has changed. Then narrow the likely cause using recorded footage, configuration history and the conditions around the camera. Any cleaning, refocusing, resealing, re-aiming or replacement should be completed by an authorised person. Finally, check the live and recorded result under the conditions in which the camera is expected to work. An alert clearing or a repair being completed does not provide that final confirmation.
Check when the problem began
Before changing any setting, establish when the problem appeared and whether it is present all the time. Much of this can be done from a workstation using the viewing rights already available to the operator.
- Find the last good recording and the first bad one. A sudden change after a storm, building work or a known impact suggests a different set of causes from a slow loss of contrast over several weeks.
- Compare recorded footage from day and night. A camera may look normal at midday and become soft, dark or washed out after the day and night mode changes. Use recorded images rather than relying only on the current live view.
- Compare the view with an accepted reference. The UK Surveillance Camera Commissioner’s buyer toolkit recommends defining an operational requirement that states the area to cover, the purpose of the camera and the level of image detail needed. A commissioning image records a view that met those requirements when it was accepted. Comparing the current image with it shows whether framing, focus or coverage has changed in a way that affects the camera’s intended purpose.
- Look at nearby cameras and shared equipment. Similar symptoms on cameras connected to the same recorder, switch or power supply may indicate a shared problem rather than several simultaneous optical faults.
- Use another viewing path if one is available. Compare the VMS client with a camera snapshot or another authorised client. If the image is poor in only one viewer, investigate the playback or display path.
- Record relevant settings and recent changes. Exposure mode, focus position, day and night behaviour, wide dynamic range, stream selection, firmware updates and configuration changes may explain when the image changed. Capture the existing values before anyone adjusts them.
Repeated restarts can temporarily clear a symptom while removing useful diagnostic evidence, and each restart interrupts the camera. Remote refocusing is also a production change, even when the camera supports it. It should follow the site’s change process and cannot correct dirt, moisture or a camera that has physically moved.
Common symptoms and likely causes
The same symptom can have several causes, but the appearance and timing of the change usually suggest a sensible first check.
| Symptom | Likely causes to check | First safe check |
|---|---|---|
| Soft image during the day and at night | Focus shift, dirty front glass, damaged or ageing optics | Find out whether the change was sudden or gradual |
| Sharp by day and soft at night | Day and night focus shift, long exposure, weak infrared illumination | Compare midday and midnight recordings |
| Milky image with low contrast | Condensation, salt or dust on the dome, fog in the scene | Check whether it follows weather or changes with temperature |
| Droplets or streaks | Rain on the glass, a failed seal, sprinkler overspray | Review recordings around the last rain or irrigation event |
| Very dark only at night | Failed infrared illumination, changed scene lighting, day mode stuck on | Check whether the night image remains in colour |
| Washed out or almost white | A new light source, glare, iris problem, incorrect exposure | Review the same view across a full day |
| Bright rings or halos at night | Infrared light reflecting from dirt, water, webs or the housing | Compare the same view by day |
| White streaks or movement near the lens at night | Insects or webs close to an infrared source | Review several nights of recorded footage |
| View no longer matches the reference | Camera moved, mount loosened, PTZ preset changed | Compare it with the commissioning image and check the preset |
| Live image is clear but the export is poor | Lower-quality recorded stream, transcoding or export settings | Compare live and recorded frames at the same time |
This table narrows the investigation. It cannot account for every camera, lens, enclosure and scene, so the result still needs to be checked against the documentation for the equipment in use.
Different kinds of blur
If the entire image is consistently soft during the day and at night, focus is an obvious possibility. A gradual change may indicate focus drift or deterioration in the lens. A sudden change is more likely to follow an impact, a camera adjustment or heavy contamination. Defocus usually softens edges while leaving the general contrast of the scene intact. Dirt, moisture and a film on the dome often reduce contrast as well, making dark areas look grey and producing a milky appearance around bright light.
Blur that appears only after dark may be caused by a focus difference between visible and infrared light. Some lenses are designed to hold focus across that change. Other cameras use a separate night focus position or compensate in software. The behaviour depends on the camera and lens, so the manufacturer’s documentation is more useful here than a general rule.
Motion blur has a different pattern. Fixed objects remain sharp while people or vehicles smear as they move through the scene. The usual cause is a long exposure rather than a focus problem. If the whole image repeatedly moves between sharp and soft, autofocus may be searching for a focus point. A single still image cannot show that behaviour, so review the camera over time.
Sharpness measurements can help identify a change from an accepted baseline. They are affected by rain, fog, low light, image noise and a scene with little edge detail, so a reduced score is a prompt for review rather than a diagnosis.
Dirt, moisture and a moved camera
Dust, pollen, salt spray, exhaust residue, bird droppings and spider webs can all reduce image quality. Their effect is often most visible when low sun, headlights or the camera’s own infrared illumination strikes the contaminated surface. A small VMS tile can hide the loss of contrast, so use a full image and compare it with earlier footage.
Moisture on the outside of a dome usually follows the weather and may clear as conditions change. Fogging or droplets inside the enclosure suggest a failed seal, spent desiccant or a heater problem. Internal condensation often changes with temperature and may be worst early in the morning. The housing should be opened, dried and resealed by an authorised technician using the manufacturer’s procedure. Water inside a camera can also cause corrosion that remains after the visible moisture has cleared.
The cleaning method matters. Hanwha’s guidance for polycarbonate camera bubbles warns that some detergents, alcohol and solvents can damage the material. Follow the instructions for the camera model instead of applying one cleaning method across the estate. Work at height, enclosure access and work near live equipment should remain within the site’s safety procedures.
A camera can also produce a sharp, well-exposed image of the wrong area. Compare fixed cameras with a reference image rather than memory. For a PTZ camera, check its home position and presets before assuming that the camera has moved physically. If a fixed camera needs re-aiming, the installer should have the operational requirement available so that the corrected view restores the intended coverage.
Dark, bright and washed-out images
A dark daytime image may come from an iris or exposure problem, an unsuitable wide dynamic range setting, or a new object shading the camera. If the image becomes dark only at night, check the scene lighting, the camera’s infrared illumination and whether the camera has changed into its night mode. A slow reduction in night visibility may also follow the ageing of an infrared illuminator, although the rate varies between products and operating conditions.
Bright or washed-out images are commonly associated with a new light, vehicle headlights or sunlight entering the view at a particular angle. Recorded footage helps because it shows exactly when the problem starts and how long it lasts. Low winter sun may affect a camera for only a short period each day, while a badly positioned light may affect it throughout the night.
Exposure and dynamic range settings can improve a difficult scene, but they should be changed carefully and recorded. Check the result during the day and after dark. A setting that improves one lighting condition can reduce detail in the other.
Problems that appear only at night
Daytime inspection alone is insufficient for cameras that rely on infrared illumination or work in changing light. A camera that appears clear during the day may have a focus problem, inadequate illumination or severe reflection after dark.
On cameras with built-in infrared illumination, reflected light can produce rings, halos or a largely white image. Axis’s image-quality troubleshooting guidance identifies water, dust and spider webs as common causes. Reflection may also come from a dome that is not seated correctly, a displaced foam shroud or part of the housing entering the infrared path. Comparing recorded images from the same camera during the day and at night is one of the simplest ways to recognise this group of faults.
The infrared cut filter can also fail to change position. A camera left in day mode may produce a dark, noisy colour image at night. A camera left in night mode may remain monochrome during the day. A restart may restore the mechanism temporarily on some models, but recurring failure still needs investigation using the manufacturer’s guidance.
Night exposure introduces another compromise. A longer shutter time brightens the scene but increases motion blur. Judge the result using moving people or vehicles relevant to the camera’s purpose, since a bright image of an empty scene does not show whether movement will be recorded clearly.
Check that the repair worked
After cleaning, refocusing, resealing, adjusting or replacing equipment, repeat the check that exposed the problem. Review the live image and a new recording during the day and at night where both conditions matter. Compare the field of view and detail with the accepted reference.
The recording and export path also need attention. Export a short representative clip and play it on the ordinary computer used outside the control room, with the expected timestamps and detail. The CCTV maintenance and inspection guide describes this check in more detail. The current UK police requirements for CCTV systems also provide a useful reference for the handover of exported footage.
Record the repair and the verification separately. “Dome cleaned” describes the work completed. It does not say whether the night image is clear, the intended area is visible, or the recorder is storing the expected stream. Once the result has been accepted, update the reference image so that the next investigation begins with the correct comparison.
Continuous screening can reduce the time between an image changing and somebody reviewing it. The guide to how camera health monitoring works explains the use of baselines, sampled images and persistence rules. On compatible cameras, AXIS Image Health Analytics can identify blocked, redirected, blurred and underexposed images. Axis also documents the effect of low-detail scenes, sudden changes in light, temporary objects and moving spider webs on detection.
For supported VMS integrations and direct camera sources, CHEQIT can examine sampled images for persistent blur, darkness, overexposure, obstruction and changes in the scene, then retain evidence for review. The checks available depend on the connector, camera, permissions and configuration. The software identifies conditions that need attention. It does not determine every cause or replace physical service and final verification.
A useful preparation is to keep an accepted daytime and night-time reference image for each important camera. Name and date the files and record what the camera is expected to show. When the image changes, this provides a better starting point than memory.
This material is general operational guidance, not legal, regulatory or safety advice. Source descriptions were checked on 14 August 2026. Product and manufacturer capabilities change, so verify them against the versions in your estate.